
Enjoy!
Enjoy!
The Conceptual Design Module (CDM) has been available for some time in CLOUDES. This entry briefly explains what it does and how it works.
Generally speaking, a conceptual model (CM) captures a modeler’s understanding of a system. As such, it is a simplification of the real system that facilitates its implementation into a simulation model (SM). To many, conceptual modeling is a crucial, but not an often practiced, step in creating simulations. In the context of discrete-event simulation, a conceptual model can capture events and/or the steps observed in progressing through the system.
CLOUDES’ CDM builds upon a simplified form of an activity diagram that modelers can use to identify the main steps that each entity goes through within the system of interest without having to concern themselves with how to specifically implement each step.
This is how it works:
Example:
If simulating a fast food restaurant, a modeler may identify (1) that a customer arrives, (2) a customer requests a meal, (3) a customer receives a meal, and (4) a customer leaves the restaurant as the primary steps that a customer takes while in the restaurant. Let’s assume that steps (2) and (3) take place in one step. As such, the observed system condenses into three steps: (1) customers arrivals, (2) customers request/receive meal, and (3) customers leave the restaurant. Using the conceptual design module, one potential conceptualization process looks like:

If the modeler is satisfied with the conceptual model, then we proceed with the specification of the type of simulation nodes that each Step node in the CM represents to facilitate its conversion into a SM.
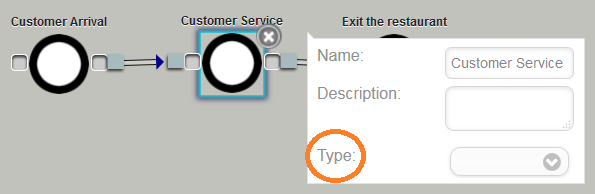
Click on each of the steps and define the type (see figure). You can assign one of the following properties as the “Type” for the Step node: Arrival, Process, Exit, Decision, Batch, Separate, and Exit.
In our example, we designate the first step as Arrival, the second as Process, and the third as Exit. After doing so, click Convert. CLOUDES will ask you if you want to continue with the Conversion. Click “Continue.” The conceptual model now has an equivalent simulation model (SM). At this point, the modeler proceeds to populate the properties of the SM. After doing so, the SM can be executed.
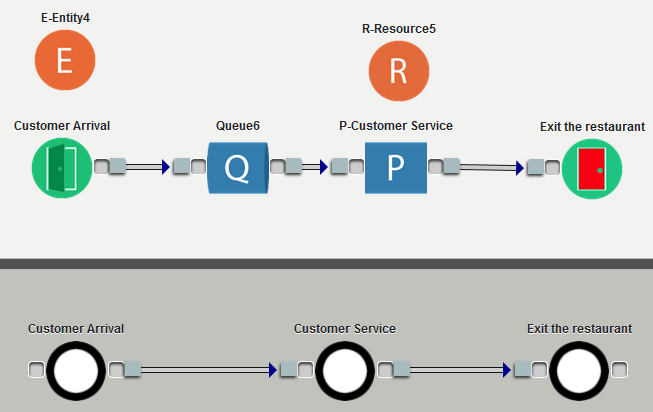
As you can see, the conceptual model is simpler than the simulation model. If designing a large simulation, the conceptual model will help in capturing and simplifying the system of interest. Notice that the conversion of the CM’s Arrival node generated both the Arrival and Entity blocks while the converting of the Process node generated the Process, Queue, and Resource blocks.
Lastly, always use the Detailed Description when building the conceptual model. The Detailed Description would allow you to explicitly capture the information and/or assumptions that go into the model as well as other important details.

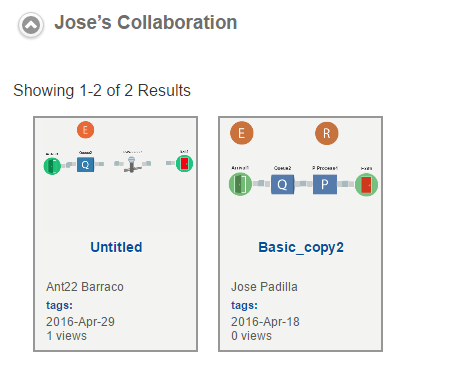
The CLOUDES Collaboration feature allows work in groups by letting users access the same simulation asynchronously. As such, when the simulation is open, the rest of the team cannot access it. When closing the simulation, it takes a few seconds for another user to be able to access it.
This is how it works:

You can use this feature with communication tools like Skype or Google Hangouts for synchronous coordination of activities. We suggest modelers to take advantage of CLOUDES’ documenting features to make assumptions and assertions explicit in order to further facilitate collaboration.
As we look for new ways to introduce non-experts to discrete-event simulation (DES), we posted a new exercise: Dystopian City.
We hope that you find it fun and educational.
For more information about the game click here: Dystopian City Newsletter.
Good news for CLOUDES’ modelers that need time management or just compete against the clock! Hamdi Kavak developed a Chrome Extension that integrates the popular Toggl button with CLOUDES.
Toggl (https://toggl.com/) is the leading software as a service time management/tracking tool. Modelers need to open a Toggl account.
The extension can be found here: https://chrome.google.com/webstore/detail/toggl-button-timer-with-p/oejgccbfbmkkpaidnkphaiaecficdnfn?hl=en
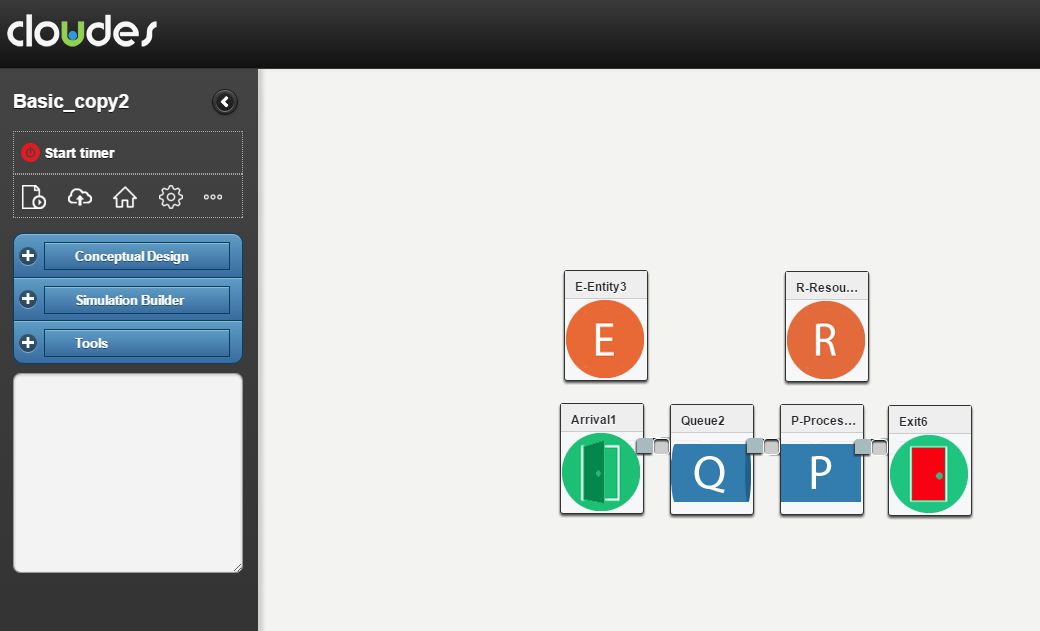
After installing the extension, the Toggl button (Start timer link) can be found at the top left of the design area, below the name of the simulation, as shown below.
The button would allow you to know how much time you spend working on a simulation. If you wander onto other simulations, the timer will keep running. You need to stop the timer when you finish your work. You can then go to your Toggl account and see how much time you spent on your simulation as shown below. There you can explore the functionalities provided by Toggl when it comes to time management.

For more information about the Toggl button Chrome extension, including other Toggl compatible online tools, go to https://support.toggl.com/toggl-button-chrome-extension/
This paper provides a discussion on the educational benefits of cloud-based simulation learning environments (CSLE), requirements for building them and some of the challenges.
Summersim 2015 – Cloud-based Simulation Learning Environments
CLOUDES relies on a protocol called WebSocket to provide a better simulation running experience. Our implementation of the protocol requires port 8887 to be allowed. If this port is not allowed, you may not be able to run your simulations behind your organization’s firewall. To address this, you need to contact your organization’s network administrator to allow port 8887.